Dehydrated biscuits and gravy for breakfast make for a great start to the day. Breakfast needs to be simple, hearty, and filling.
This easy-to-make dehydrated biscuits and gravy recipe will keep you going strong and get the day off to a good start. It has ample meat, spices, and thick, creamy sausage gravy to tie it all together for a tasty and hearty breakfast.
So let’s get started.
Table of Contents
- Dehydrated Biscuits and Gravy Recipe
- Supplies Needed for Dehydrated Biscuits and Gravy
- Dehydrated Biscuits and Gravy Dry Ingredients
- Dehydrated Biscuits and Gravy Wet Ingredients
- At Home Preparation
- Optimize Food Protection for Storage and Travel
- In the Field Preparation
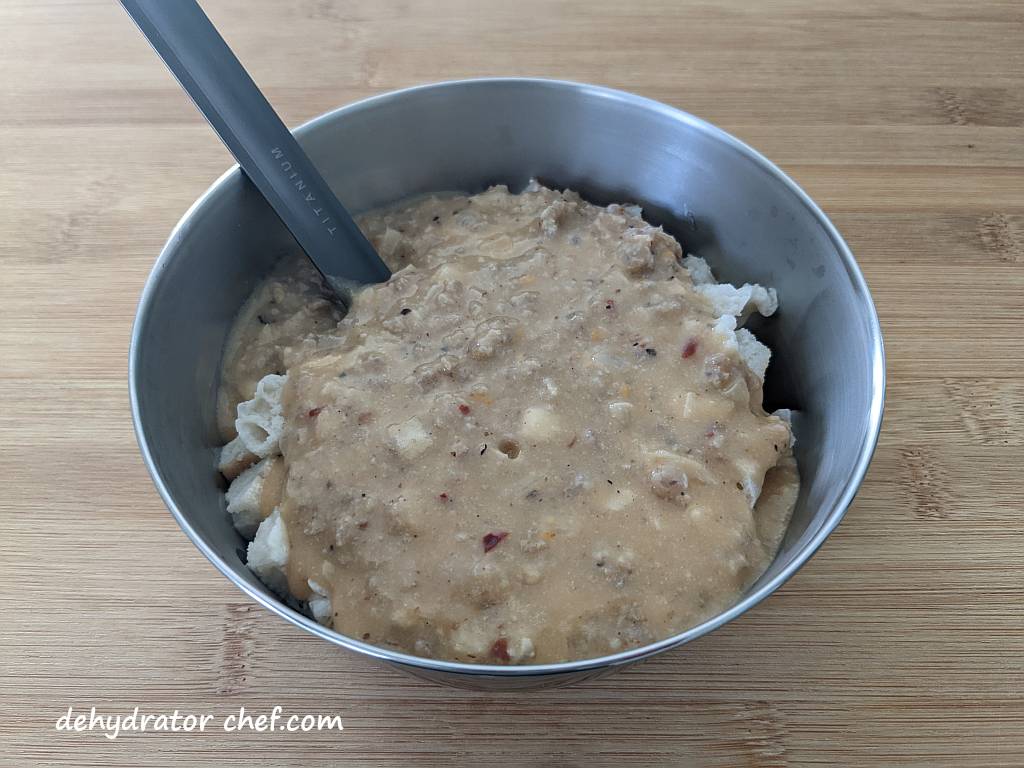
Dehydrated Biscuits and Gravy Recipe
Our dehydrated biscuits and gravy recipe only needs a handful of simple ingredients. All of these ingredients you can easily dehydrate yourself.
Supplies Needed for Dehydrated Biscuits and Gravy
- Several 1-quart zip-top bags
- Heavy-duty paper towels
- Labeling materials such as masking tape and waterproof all-weather pen
- Camp cookware and dinnerware
- If needed, an 8-ounce silicon measuring cup
We will use an inexpensive silicon measuring cup to dole out the water into the cooking pot. We are not all that good at remembering the 1 cup mark versus the 3/4 cup mark versus the 1 1/4 cup mark on our stainless-steel pot. Check them out here on Amazon and find one that will fit inside your cookware.
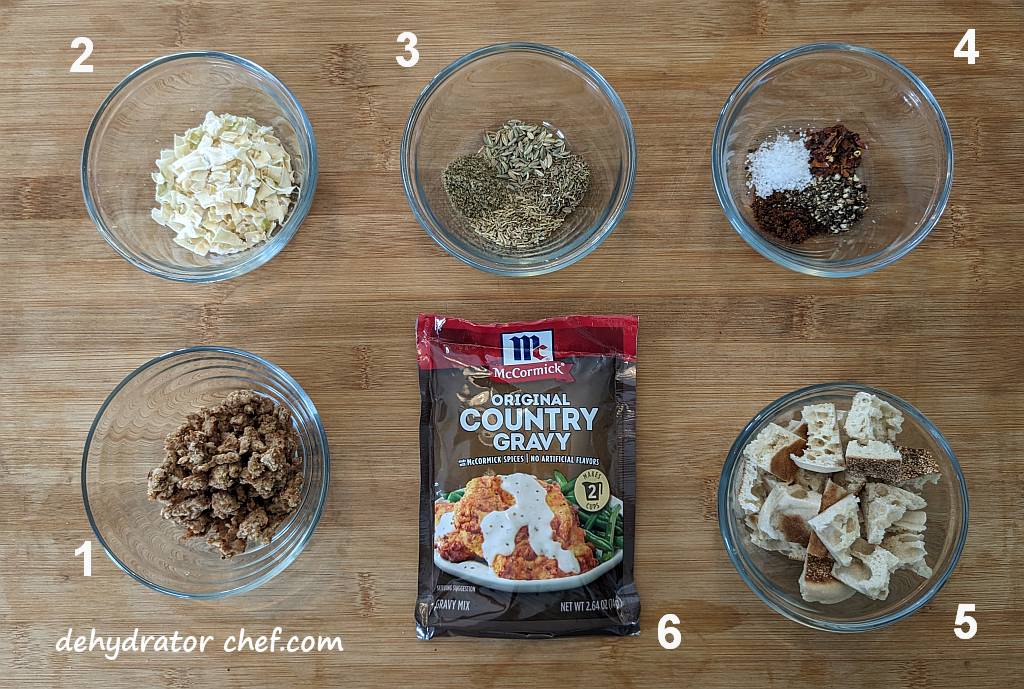
1) dehydrated pork crumbles
2) dehydrated onion
3) spices and seasonings (thyme, sage, rosemary, fennel)
4) spices and seasonings (kosher salt, freshly ground black pepper, chili flake, dehydrated chipotle peppers in adobo sauce)
5) dehydrated biscuits
6) Country Gravy mix
Dehydrated Biscuits and Gravy Dry Ingredients
You will have approximately 130 grams of dry mix for this single-serving recipe.
- 1/3 cup / 30 grams dehydrated pork crumbles
- 1 or 2 tablespoons / 5 to 10 grams dehydrated onion
- 2-1/2 tablespoons / 30 grams country gravy mix
- 1/2 teaspoon dehydrated chipotle peppers in adobo sauce
- 1 teaspoon of freshly ground black pepper
- 1/2 teaspoon cracked rosemary
- 1/2 teaspoon thyme
- 1/2 teaspoon fennel
- 1/2 teaspoon sage
- pinch of red pepper flakes
- pinch of kosher salt
- 1 cup / 35 grams dehydrated biscuits or dehydrated English muffins
Dehydrated Biscuits and Gravy Wet Ingredients
- 3/4 cup of water for dehydrated English muffins OR 1 cup of water for dehydrated biscuits
Dehydrated Biscuits and Gravy Ingredient Notes
Use your favorite blend of sausage seasoning. Here, we’re using cracked rosemary, sage, thyme, fennel, chili flake, and chipotle peppers in adobo, and a pinch of salt and pepper.
We use the McCormick country gravy mix.
We recommend making and trying this homemade dehydrated camping meal recipe several times at home before preparing it for the first time in the field so you will know what to expect. Don’t depend on untested gear or untested recipes.
At Home Preparation
Combine the dehydrated pork crumbles, country gravy mix, dehydrated onion, dehydrated jalapeno pepper, red pepper flakes, and freshly ground black pepper into a food-safe 1-quart quality name-brand zip-top bag for best results.
Label the bag as “gravy,” although the contents are apparent when you dump it into a cooking pot.
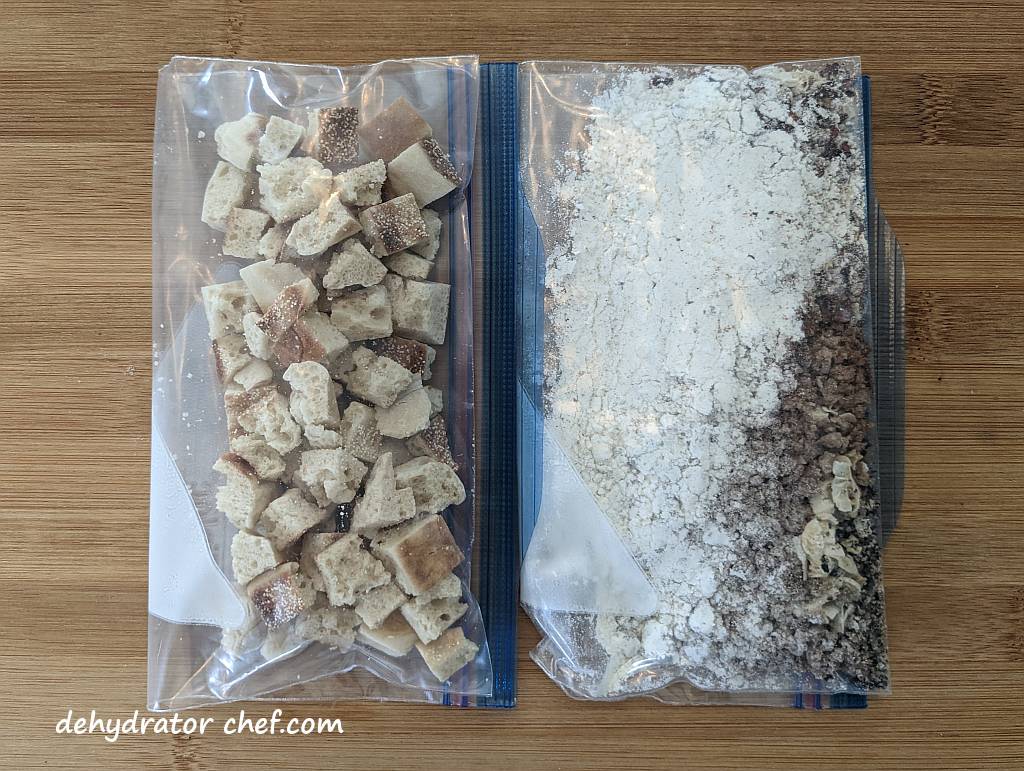
Add the dehydrated biscuit or English muffin pieces to the remaining 1-quart zip-top bag. We’ll call this the “biscuit” bag.
Compared to the local big box stores, Amazon has the best prices for the name-brand ZipLoc 1-quart freezer bags. So says the 20,000 plus Amazon customer reviewers who took the time to leave feedback. The rough and sharp edges of homemade dehydrated foods often compromise generic zip-top bags. Quality zip-top bags are a necessity when making dehydrated meals for camping.
Be sure to include a short note with the name of the dish and detailed preparation instructions. We have included detailed preparation instructions at the end of this page.

Label and date the zip-top bag to identify the contents. Masking tape and an all-weather pen with permanent ink work well here.
One day, we conversed with a local NPS Ranger while working our evening meal preps. She remarked on the doggie landmines she encountered earlier that work day as she moon-danced around our to-be campsite. Later, we figured out that she was cleaning off her footwear. It was all good. However, I did set up my tent away from her dance floor.
Optimize Food Protection for Storage and Travel
Double bagging, using two zip-top bags with a separator, is an option to help guard against punctures, leaks, and water penetration and to protect the food’s integrity. This way, it remains viable in the field or pantry storage.
The Scott Shop towels brand makes an excellent bag separator. These multipurpose paper towels are thicker than the average heavy-duty paper towel. As a multitasker, repurpose these towels for the after-meal cleanup activities.
These heavy-duty paper towels have over 11,000 Amazon customer reviews with an average rating of 4.8 out of 5 stars, which is evidence of a great product. Check them out here. You can find them at your local big-box megamart automotive department.
In the Field Preparation
Empty the gravy dry mix contents of the zip-top bag into a suitable-sized cooking pot.
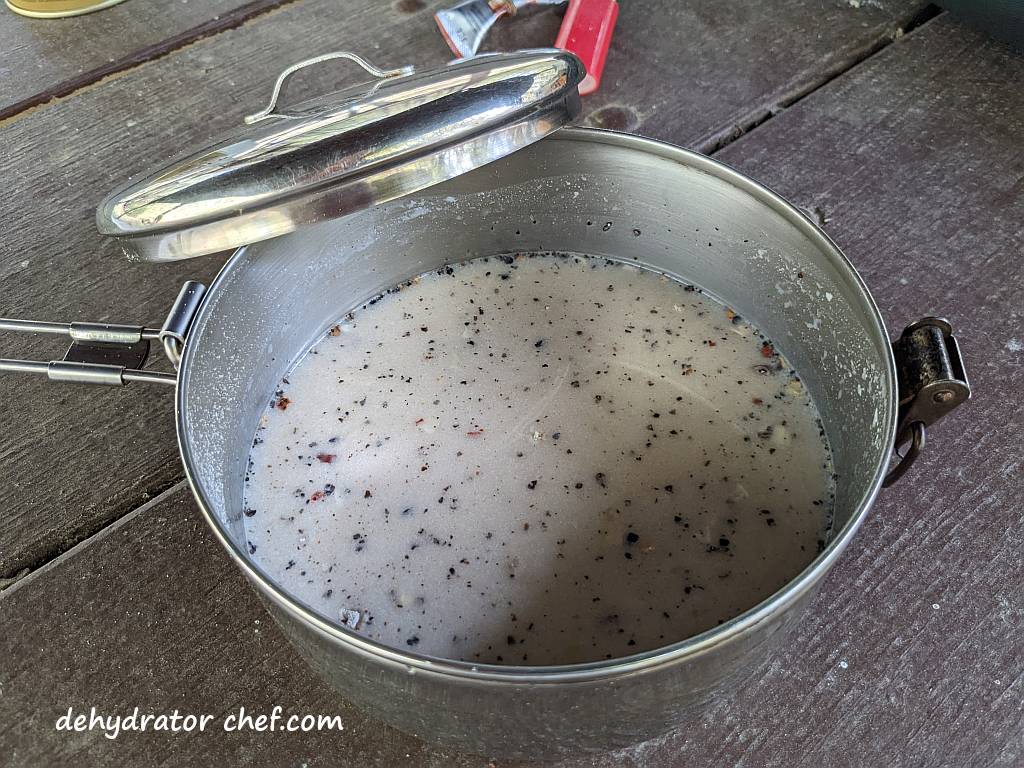
Measure in enough water to cover the dry ingredients. Then add a tad bit more water. Stir to mix thoroughly. Cover, and let the dry ingredients hydrate for a minimum of five minutes. Stir several times, and add more water if needed to keep all ingredients covered and well-saturated with water.
So why not add all of the water at once? You certainly can, but we are metering in the water so we don’t end up with a final product that is too dry or soupy. Adding water in smaller amounts works best for our Dehydrator Chef recipes.
You’ll notice that the dry mix starts to soften and rehydrate in the water bath.
For the biscuit bag, using either hot or cold water, add ¾ cup water to the dehydrated English muffin zip-top bag or 1 cup water if using dehydrated biscuits. Remember, we are rehydrating the dried bread in a 1-to-1 ratio. Every now and again, mix the muffin or biscuit pieces to soak up any remaining water.
On your cooking stove and over a medium flame, bring the hydrating gravy ingredients to a boil, stirring occasionally to mix. After two minutes, turn the flame down to a simmer and continue to stir until the gravy has thickened to your preference.
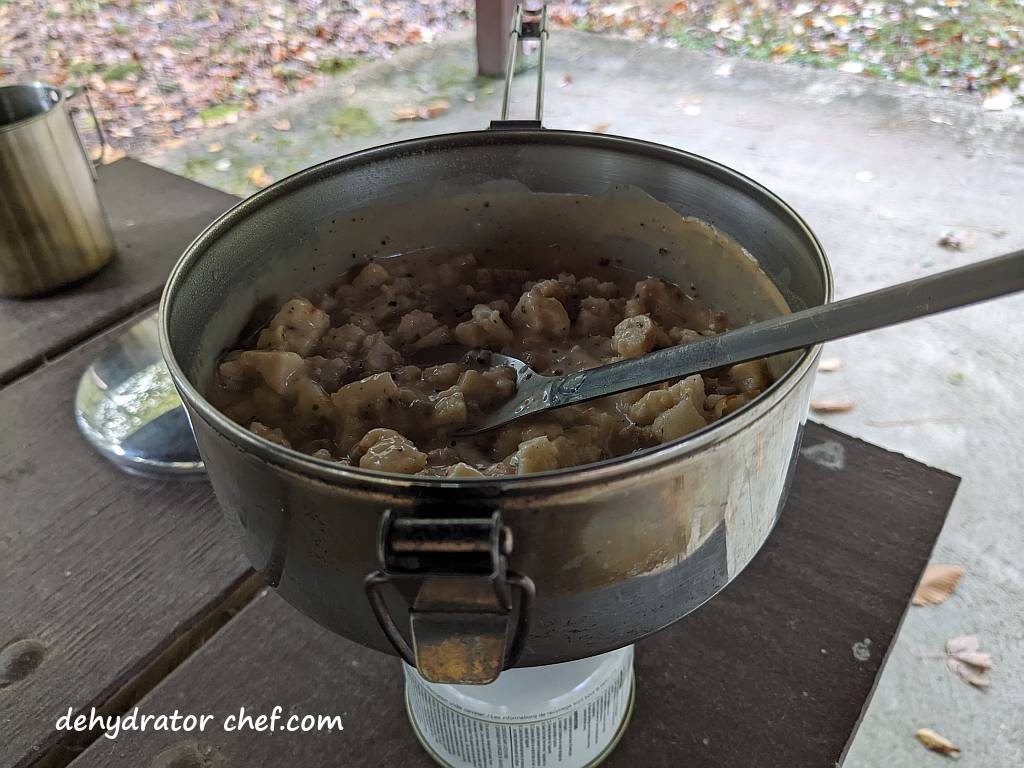
Drain any remaining water from the biscuit bag when the gravy has thickened. Finally, empty the contents of the biscuit bag into your cooking pot. Stir to mix.
The dinner and cookware shown above are our 1.1-liter MSR Alpine stainless steel stowaway camping pot and a TOAKS titanium long-handled spoon for scooping up every last little tasty bit from the bowl. The long-handle spoon is also great for reaching the bottom of those freeze-dried food pouches. Check out Amazon.com’s latest customer reviews, prices, and product information.
Dehydrated Biscuits and Gravy Detailed Preparation Instructions
Empty the dehydrated biscuits and gravy dry mix contents of the zip-top bag into your cooking pot.
Pour in enough water to cover the dry mix, then add a tad bit more.
Cover, and let the dry ingredients hydrate in your camp cookware for at least five minutes. Stir all of the way to the bottom now and again.
Measure 3/4 cup of water into the 1-quart bag of dehydrated English muffins, OR, measure 1 cup of water into the 1-quart bag of dehydrated biscuits.
Next, on your cooking stove and over a medium flame, bring the gravy mix to a boil, stirring occasionally to mix.
After bringing the gravy mix to a boil, turn the stove down to a simmer for two minutes. Stir occasionally until the gravy has thickened to your preference.
After the gravy thickens, drain any remaining water from the biscuit bag. Finally, empty the contents of the biscuit bag into the cooking pot. Stir to mix. Enjoy.
