This is our step-by-step guide on how to dehydrate quinoa. Dehydrating quinoa is easy to do and great to have on hand.
Dehydrating quinoa is an easy process that can add more variety and options to your homemade dehydrated camping meals. We can cook quinoa in stock or broth to enhance its taste and make it an even more flavorful meal ingredient. This is a simple way to elevate the flavor of quinoa and make it a more enjoyable part of your meal.
One cup of cooked quinoa provides approximately 8 grams of protein and 5 grams of fiber. Quinoa is different from other plant proteins as it is a complete protein, meaning it contains all nine essential amino acids that our bodies cannot produce on their own.
Because quinoa is a complete protein, many folks will substitute it for rice or meat. So, we have even more possibilities with our homemade dehydrated camping meals.
Even if you’ve never dehydrated anything before, don’t worry; dehydrating quinoa is a simple process that anyone can do with just a few basic tools that we will discuss here.
So, let’s get started dehydrating some quinoa.
Table of Contents
- How to Dehydrate Quinoa
- Supplies Needed to Dehydrate Quinoa
- Step 1. Process the Quinoa for Dehydrating
- Step 2. Preparing the Dehydrator to Dehydrate Quinoa
- Step 3. Dehydrating Quinoa
- Step 4. When is the Dehydrated Quinoa Done
- Step 5. Equalizing and Conditioning Dehydrated Quinoa
- Step 6. Storing Dehydrated Quinoa
- How to Use Dried Quinoa
- Weights, Measures, and Serving Sizes
- Dehydrated Quinoa Nutrition Information
- Insider Tips
How to Dehydrate Quinoa
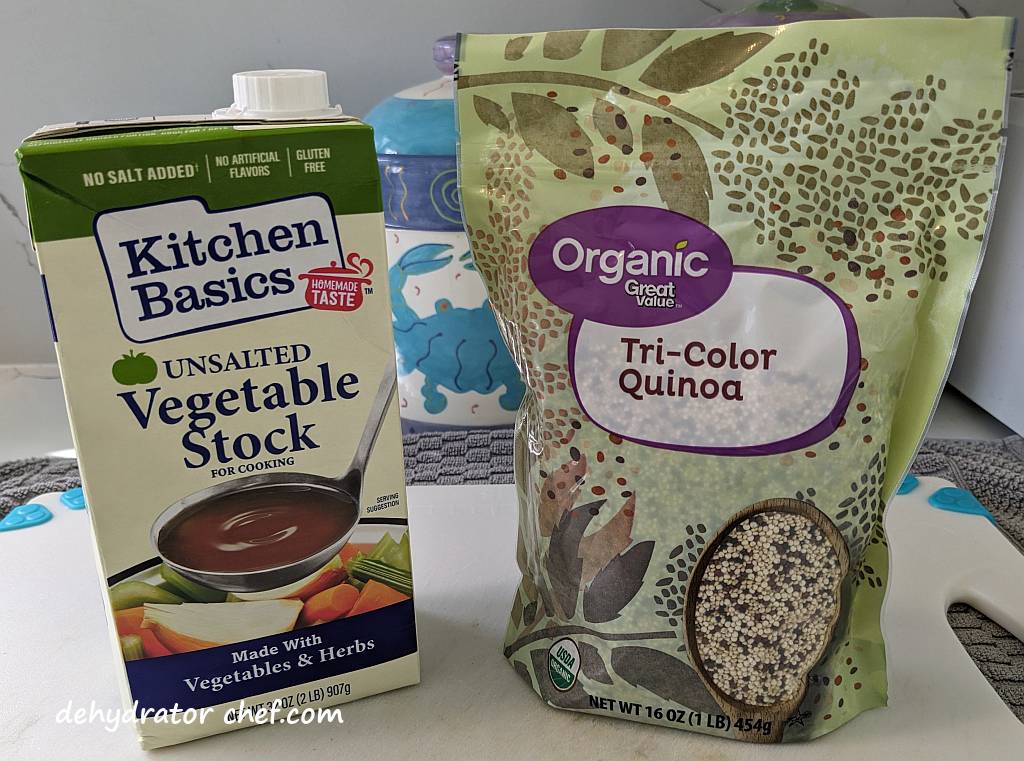
There are several quinoa options: red, black, white, and mixed. For today’s dehydration project, we have a 16-ounce bag of mixed quinoa from the local grocer down the street.
We use dehydrated quinoa in many of our homemade dehydrated backpacking meals and our day-to-day cooking. Dehydrated quinoa is kind of like instant rice in that it cooks much faster than when making it straight from the box.
Why dehydrate quinoa? Properly cooking quinoa so it’s tender and edible will take at least 15 to 20 minutes to manage and oversee the process. Like all lengthy cooks, that 15 to 20 minutes of boiling and simmering will take a serious bite out of your limited fuel supply. Our dehydrated quinoa will reconstitute at the same rate as our other dehydrated ingredients, so you’ll only need about two minutes of fuel. That is quite a savings in the fuel budget!
Supplies Needed to Dehydrate Quinoa
- A good quality quinoa
- A flavorful stock or broth, today we are using a no-fat, low-sodium vegetable stock that goes well with everything
- Food dehydrator with removable fruit roll sheet inserts, one for each tray
- Standard kitchen tools, including cutting boards, chef’s knife, spatula, mesh strainer, etc.
- Clear canning jars with tight-fitting lids
- Wide-mouth canning jar funnel
- Desiccant packets
For planning purposes, 1 to 1 1/2 cups of cooked quinoa will fill one Nesco 13.5-inch round dehydrator tray. So, we’ll need 5 to 7 trays for one 16-ounce bag of quinoa, which makes about 8 cups of cooked quinoa.
All you need to dehydrate these foods is a good quality food dehydrator. We use the Nesco food dehydrators. You can check out our food dehydrator guide to learn why we think Nesco offers the best bang for the buck. We believe this is the best food dehydrator for our long-term food storage needs.
Step 1. Process the Quinoa for Dehydrating
We will start by cooking the quinoa according to the preparation directions on the bag.
Generally, for every 1 cup of uncooked quinoa, you will need 2 cups of water or stock, making close to 3 cups of the cooked product. For today’s project, we are using the entire bag, 16 ounces, and a 32-ounce carton of low-sodium vegetable stock.
We’ll start by rinsing the quinoa using cold water to remove any surface residue. Some quinoa package cooking instructions recommend rinsing to remove the natural saponin coating, which may affect the flavor unless it’s removed. Saponin protects the seeds from being eaten by wildlife and has a soap-like flavor. So it’s something we want to wash away.
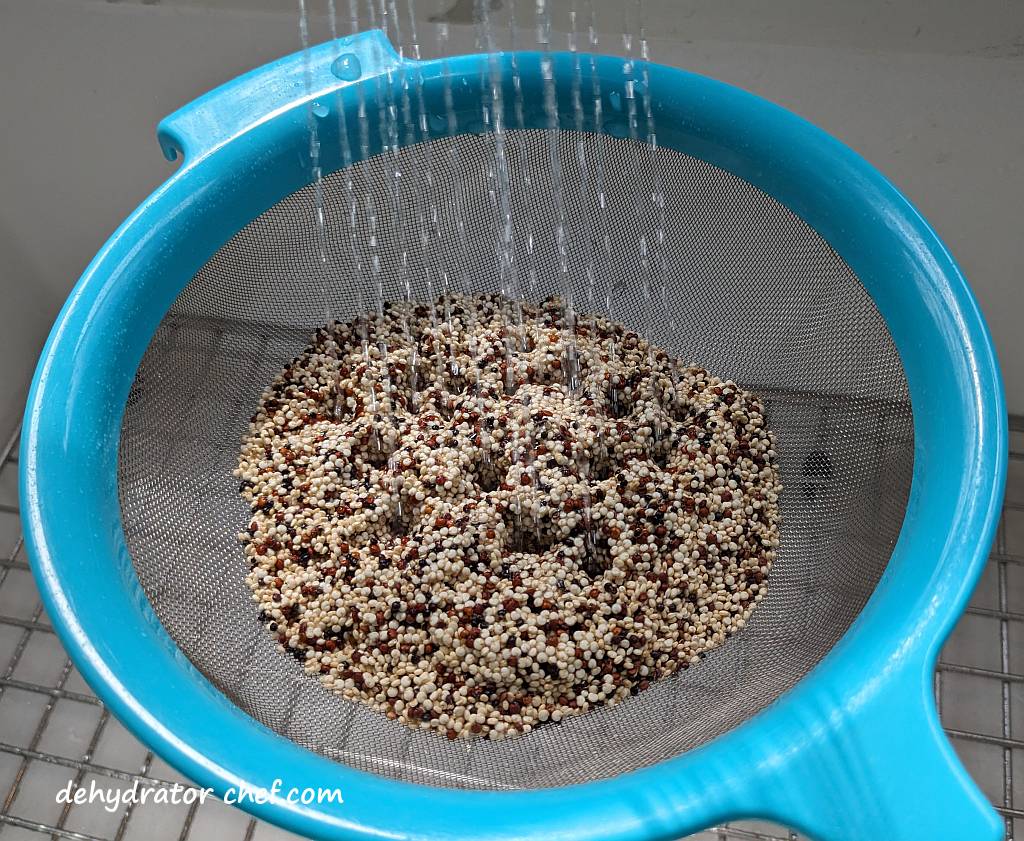
We’re also inspecting the quinoa and removing anything that shouldn’t be there. Despite the use of modern cleaning equipment, it is not always possible to remove all foreign materials. Sift and remove any foreign materials as you rinse the quinoa.
Cook the quinoa according to the package directions. Skip adding butter or oil, even if it’s on the package directions.
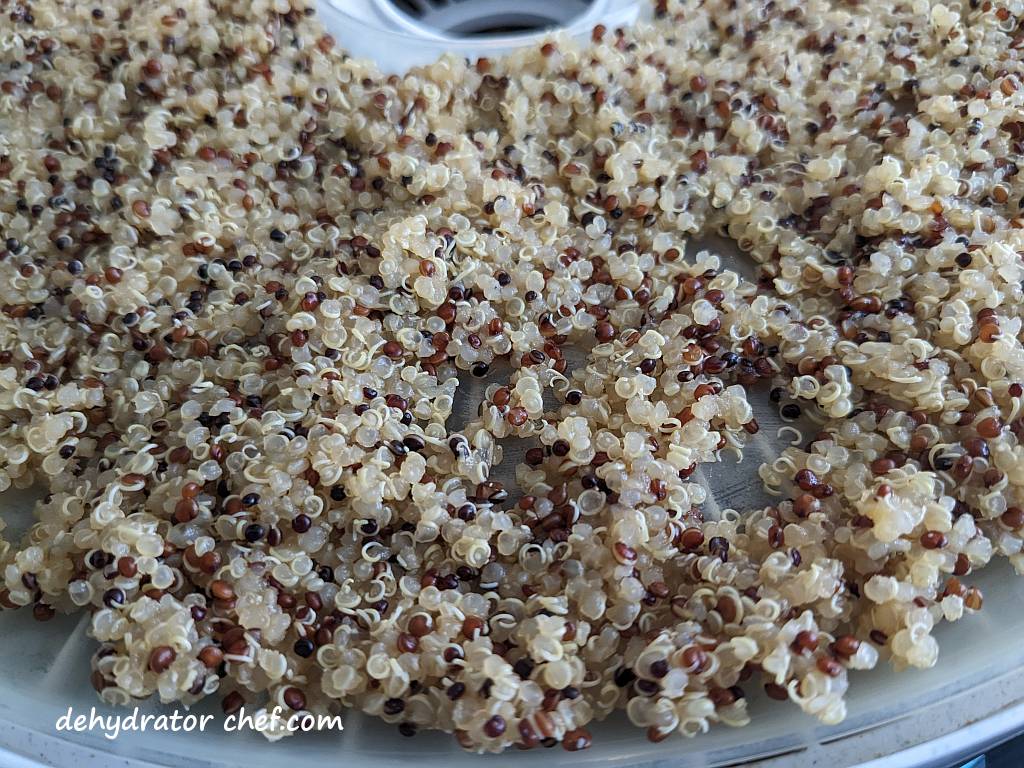
Generally, the cooking process involves first bringing the liquid to a boil in a saucepan. Next, stir in the quinoa. Lastly, cover and reduce the heat to a simmer. Cook until the grain is translucent and the germ has spiraled out from each grain, approximately 15 minutes.
After I see that the quinoa has fully cooked, I’ll remove the lid and let any remaining liquid cook off. Then, remove from the heat and then fluff with a fork.
Step 2. Preparing the Dehydrator to Dehydrate Quinoa
We will use these removable Nesco fruit roll sheet inserts on our food dehydrator for today’s project. They have over 3000 customer reviews with an average rating of 4.5 stars out of 5, which is evidence of a great product. Check out other Nesco food dehydrator products here.
One 16-ounce bag of quinoa cooked according to package directions will give you close to 8 cups of finished product.

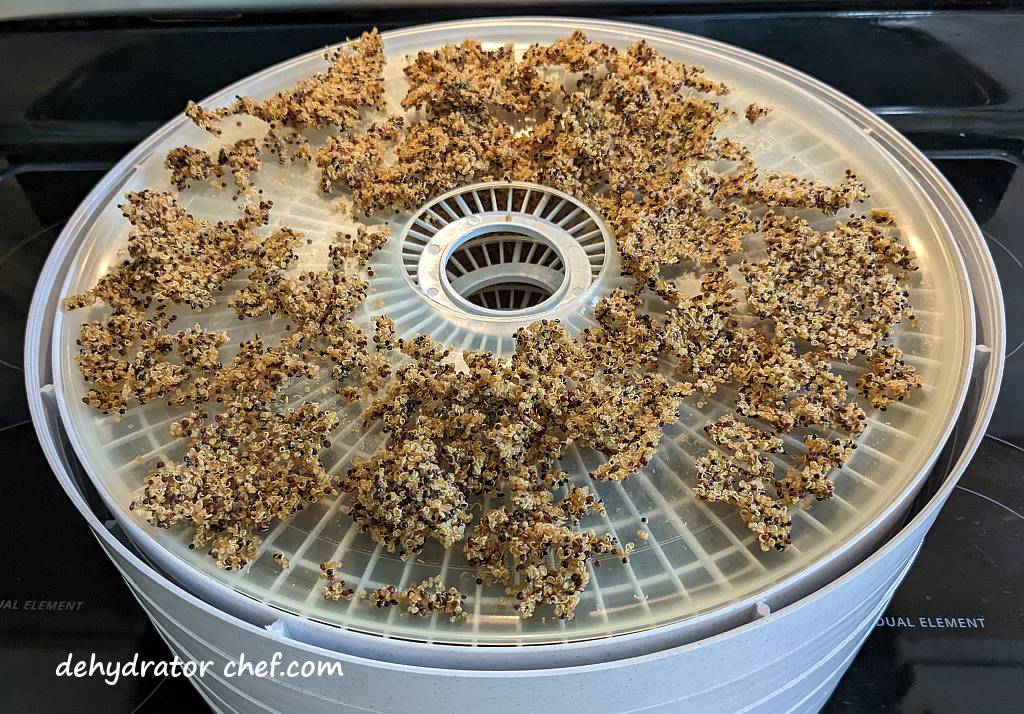
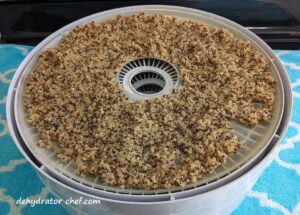
One to 1-1/2 cups of cooked quinoa will fill one Nesco 13.5-inch round dehydrator tray with the removable fruit roll sheet insert. Spread the cooked quinoa into a thin layer to promote even drying. A spatula works well here. The cooked quinoa will most likely want to stick together in clumps as you layer it on the fruit roll sheets. We can fix the clumping problem later.
Step 3. Dehydrating Quinoa
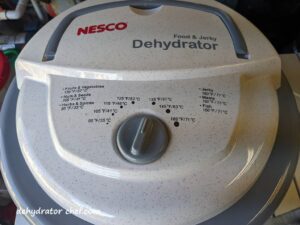
Set the dehydrator thermostat temperature to 135 °F (57 °C). I find that 18 to 24 hours is about the right amount of time for dehydrating quinoa. Drying times are variable and dependent on your food dehydrator, the ambient temperature and humidity, the number of dehydrator trays, the size of food items, and how crowded you fill your dehydrator trays.
Case hardening is a phenomenon that can occur during the drying process of certain foods, including quinoa. It refers to the development of a hard outer crust or surface layer on the food, which can prevent the escape of moisture from the interior. This can lead to uneven drying and potentially result in moisture retention within the quinoa grains.
The outer layer of the quinoa cluster may dry quickly and prevent the inside moisture from escaping, otherwise known as case hardening. About mid-way through the drying process, break apart any quinoa clumps into smaller pieces to prevent case hardening.
Step 4. When is the Dehydrated Quinoa Done
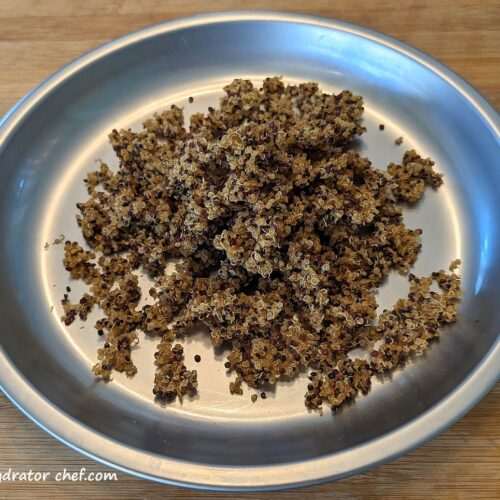
The dehydrating quinoa will tend to shrink and break apart into sections. Pick up and examine the quinoa clumps’ top and bottom, looking for any sign of moisture or areas of undried quinoa. If seen, just let it dehydrate for another few hours and check again.
Drying times depend on your food dehydrator, the ambient temperature and humidity, the number of dehydrator trays, the size of food items, and how crowded you fill your dehydrator trays. Refer to your dehydrator owner’s manual for recommended temperatures and times for dehydrating specific foods. Remember to use drying times as a guide.
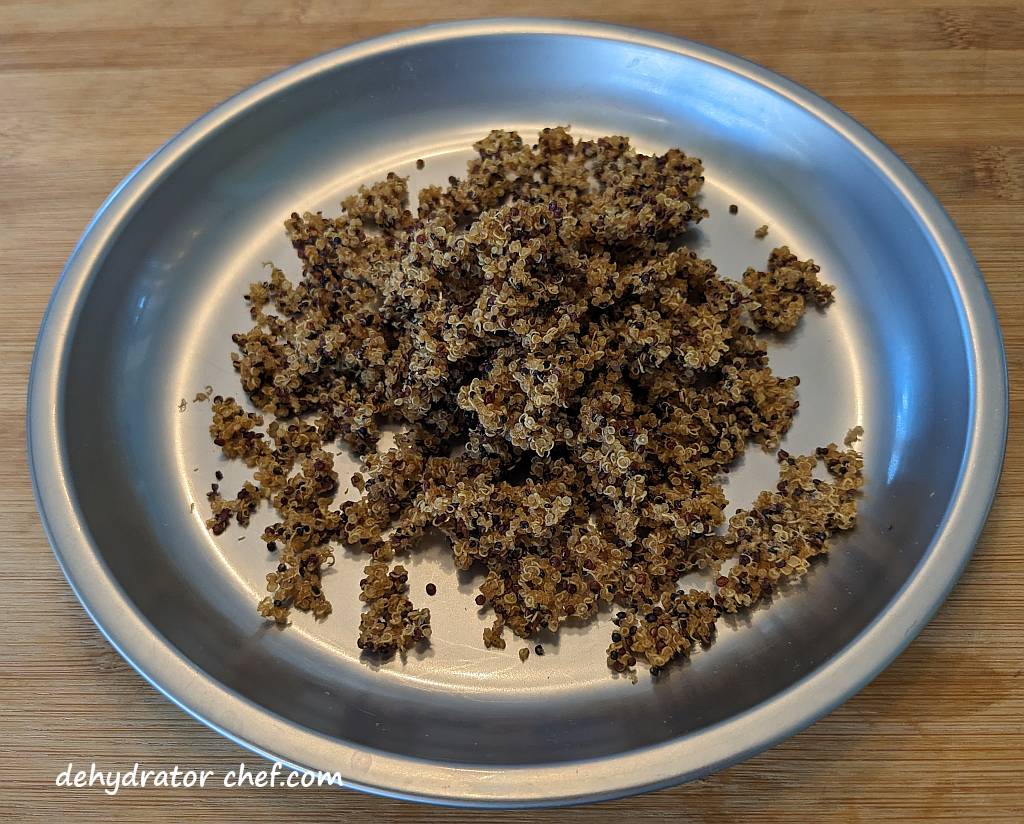
Dehydrated quinoa is done when it easily breaks apart into smaller pieces. Any clumps have been broken down and checked for dryness.

With experience, you’ll develop an eye for this, but until it develops, check it all for dryness.
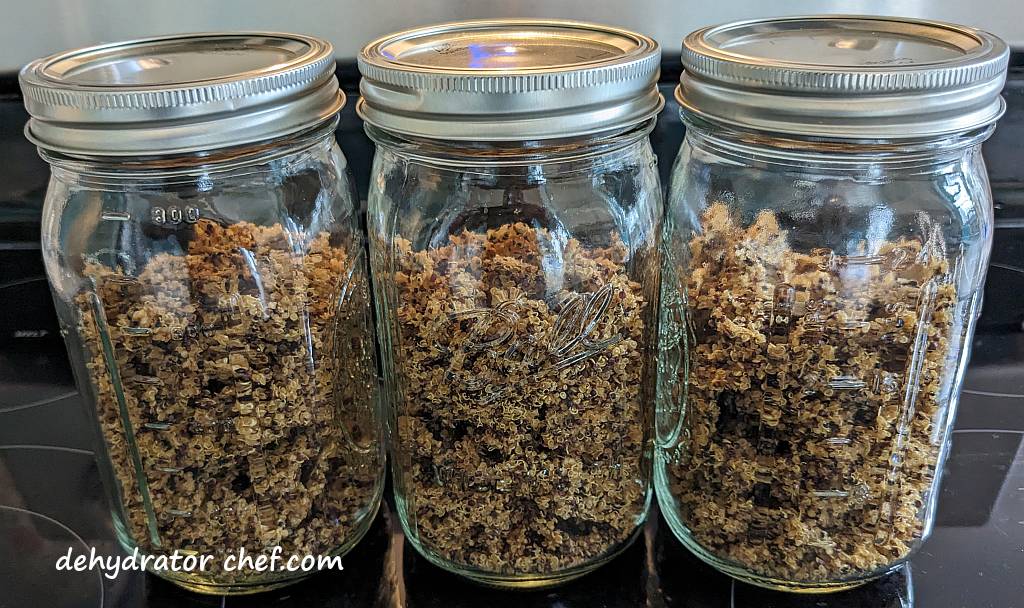
Step 5. Equalizing and Conditioning Dehydrated Quinoa
When the dehydrated quinoa pieces are removed from the dehydrator, the remaining moisture may not be distributed equally among them because of their location and position in the dehydrator. Equalizing and conditioning is a process for freshly dehydrated foods that ensures any residual moisture remaining in any piece is spread or equalized among all the other pieces in the batch. Let the dried quinoa equalize and condition in the storage container for 7 to 10 days.
We always recommend letting food items cool completely after they have finished dehydrating and before packing them into an airtight storage container for equalizing and conditioning. Warm food may cause sweating, which could provide enough moisture for mold to grow.
It does not take long for dehydrated food items to start hydrating from ambient household humidity. Do not leave dehydrated food items exposed to the elements any longer than necessary because of the increased risk of mold growth.
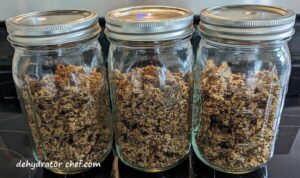
After a short cooling period, loosely pack the dehydrated quinoa into a clean, dry, insect roof and airtight storage container. We use the larger quart-size canning jars for conditioning. Since the canning jars are clear, it’s easy to see what’s inside. Fill the jars at most 2/3 to 3/4 full, leaving some headspace.
Headspace is the distance between the food surface and the lid’s underside. Its purpose is to provide ample space for the dehydrated food product to slide and tumble when shaken and rotated to expose any evidence of clumping or sticking.
A quality stainless steel or plastic canning jar funnel makes the messy job of getting dehydrated foods off the dehydrator tray removable inserts and into the canning jars an easy task. Take a minute or two and check them out on Amazon.
Every day, check the jar for moisture. Roll the jar contents around and note any clumping or sticking. If seen, put the contents back on the dehydrator for several more hours. Since canning jars are clear, it’s easy to see what’s inside.
Lastly, if you notice any mold, even the tiniest bit, throw it all out. The mold spores you see are blooming enough to make them visible. But there are more, even smaller mold spores in the rest of your jar that make your dehydrated food inedible. Toss it all out and start another batch.
Step 6. Storing Dehydrated Quinoa
Use an appropriately sized canning jar for storage. The dehydrated quinoa might keep up to 12 months or longer. Exactly how long depends on how well you dehydrate the quinoa and your pantry storage conditions.
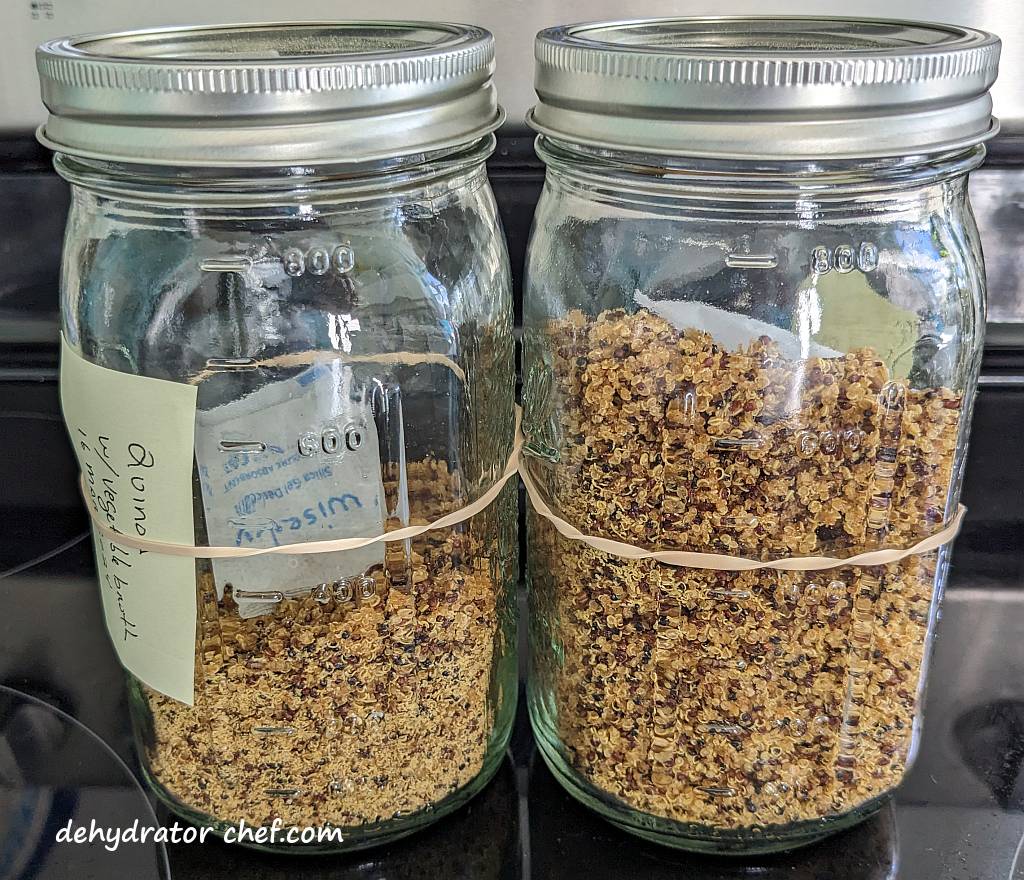
We’ll use a food-safe desiccant packet for moisture control because we live in a fairly humid area. For our pint-size or quart-size canning jars, we’ll use a single food-safe 5-gram desiccant packet. The desiccant packets will absorb any moisture and extend the shelf life of the dehydrated quinoa.
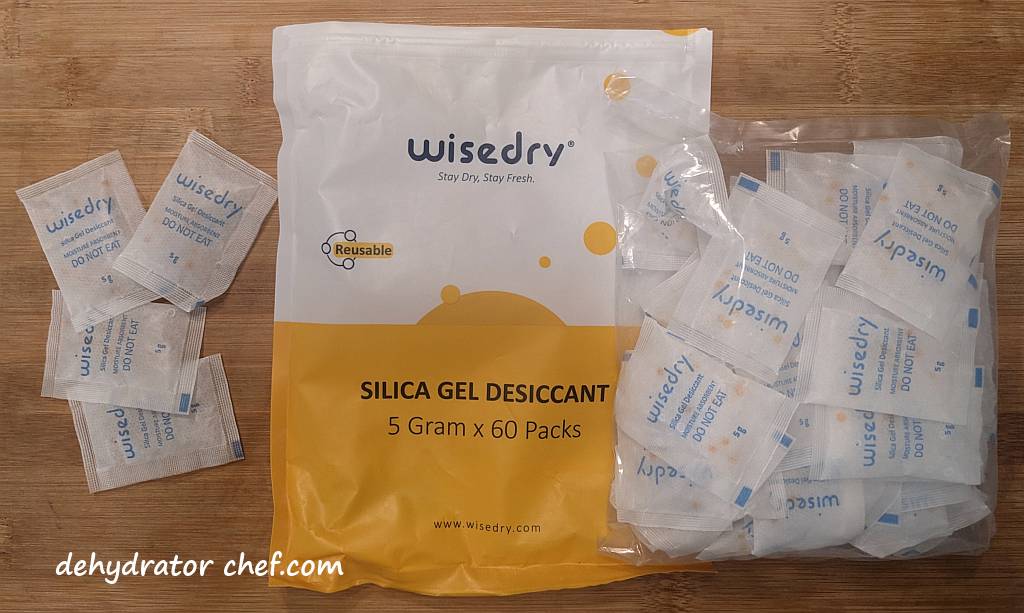
We use these inexpensive food-safe desiccant packets, which are available from Amazon. These 5-gram packets have over 5000 of mostly 4- and 5-star customer reviews, with an average of 4.7 stars out of 5. Our bag of 60 desiccant packets will last quite a while because they can be recharged and reused multiple times. Other food-safe sizes are available.
Attach or include a short note describing the contents and the date the product was dehydrated. The note also informs us where to go in the dehydrator logbook to make another note. Hydration
How to Use Dried Quinoa
Hydrate the dried quinoa using roughly a 4-to-1 ratio of water to dehydrated quinoa to water. It seems like a lot of water, but it’s not. Soak the dried quinoa in water for 5 minutes, bring it to a boil, then simmer for 2 to 3 minutes. Remove from the stove and wrap it in a cozy. It will take at least 15 to 20 minutes to fully hydrate.
If you’re supplementing store-bought freeze-dried meals like we often do, just add a bit more boiling water to the food pouch. Use the same 4-to-1 ratio of water to dehydrated quinoa and account for the extra time. Optionally, prepare the quinoa separately, then add it to the meal. Most store-bought freeze-dried meals could use a little extra to bump up the calorie count.
Weights, Measures, and Serving Sizes
This information is summarized from our notes on most food dehydration efforts.
We picked up a 16-ounce bag, about 10 servings, of tri-colored quinoa with a 32-ounce carton of unsalted, non-fat vegetable stock.
The quinoa was cooked according to the package directions without adding any fats. The quinoa dehydrated to approximately 450 grams. So, each serving is approximately 45 grams.
Dehydrated Quinoa Nutrition Information
The nutrition information is only an estimate and may differ depending on the ingredients you use.
Serving Size: 45 grams | Calories: 180 kcal | Total Fat: 2.5 g| Saturated Fat: 0 g | Cholesterol: 0mg | Sodium: 68 mg | Carbohydrate: 31g | Dietary Fiber: 3 g | Sugar: 3 g | Protein: 6 g
 | The Dehydrator Chef Book Available only on Amazon.com You’ll find step-by-step instructions for 26 homemade dehydrated camping meals. Many recipes are only available in this book. Grab yourself a copy today. |
Insider Tips
In addition to the dehydrated meal recipes on this website, you can add dehydrated quinoa to any of your favorite freeze-dried food pouches for a bit more bulk and calories. I don’t know about you, but with some of those store-bought freeze-dried meals, I am still hungry. I need a bit more to fill me up.
Practice these Dehydrator Chef homemade dehydrated camping meal recipes at home several times with the very same outdoor kitchen gear used in the field or at the campsite. This approach lets you practice your skills so you know what to expect and where to adapt.
How to Dehydrate Quinoa
Equipment
- Removable fruit roll sheet insert (one for each dehydrator tray)
- Common kitchen tools (including cutting boards, chef's knife, strainer, etc.)
- Canning jars with tight-fitting lids
- Desiccant packets for moisture control (optional)
Ingredients
- quinoa
- beef, chicken, or vegetable stock (optional, but no, or low-sodium is preferred)
Instructions
Process the Quinoa
- Using a wire mesh strainer, rinse off the quinoa.quinoa

- Inspect the quinoa as you rinse it, removing anything that shouldn't be there. Despite the use of modern cleaning equipment, it is not always possible to remove all foreign materials.
- Cook the quinoa according to package directions; omit any added oils or fats. Optionally, substitute an equal amount of broth or stock in place of water.
Prepare the Dehydrator
- Spread the cooked quinoa onto the removable fruit roll sheet inserts; one 16-ounce package will fill five to seven Nesco 13.5-inch round dehydrator trays. If it’s too crowded, prepare another tray.
Dehydrate the Quinoa
- Set the dehydrator thermostat temperature to 135 °F (57 °C). Dry for 18 to 24 hours until done.
- Check on the quinoa every few hours and break apart the bigger pieces into smaller fragments to help prevent case hardening.
When is the Dehydrated Quinoa Done
- When done, the quinoa should easily break apart into smaller pieces, and there should be no wet or mushy pieces.

Equalizing and Conditioning Dehydrated Quinoa
- After a short cooling period, loosely pack the dehydrated quinoa into a clean, dry canning jar with a tight-fitting lid, leaving some headspace.
- Every day, for 7 to 10 days, check the jar for moisture. Roll the jar contents around and note any clumping or sticking. If seen, put it all back on the dehydrator for several more hours.
- If you notice any mold at all, even the slightest bit, throw it all out.
Storing the Dehydrated Quinoa
- Use appropriate-sized canning jars for storage. Depending on how well you dehydrate them and your pantry storage conditions, the dehydrated quinoa should keep for at least 12 months.

- An optional food-safe desiccant packet will aid with moisture control.

- Attach or include a label describing the jar contents and the date the product was dehydrated. The label identifies the canning jar contents, and the date helps with the rotation schedule. A first-in, first-out rotation helps us to use items that have been on the shelf the longest, so we're using the oldest food first.
Notes
Nutrition
Nutrition information is only an estimate and may differ depending on the ingredients you use.
One reply on “How to Dehydrate Quinoa – Dehydrating Quinoa, A Step-by-Step Guide”
It is surprising how much water it takes to rehydrate dried quinoa. I prefer dehydrated quinoa over rice any day, it’s good stuff. Quinoa and sardines are a flavor bomb. 5 stars.